Discover the ultimate guide to selecting the perfect press-on nail size. Learn how to measure, choose, and apply nails for a flawless, salon-quality finish at home or professionally.
Understanding the Importance of Proper Fit
A proper fit is crucial for both aesthetics and longevity. Ill-fitting press-on nails can lead to lifting, gapping, or even damage to your natural nails. A well-sized nail enhances your natural beauty, ensuring a seamless look. It also prevents discomfort and premature wear. Achieving the right fit allows you to enjoy salon-quality results without compromising nail health. Proper sizing is key to a confident, polished appearance that lasts.
Measuring Your Natural Nails
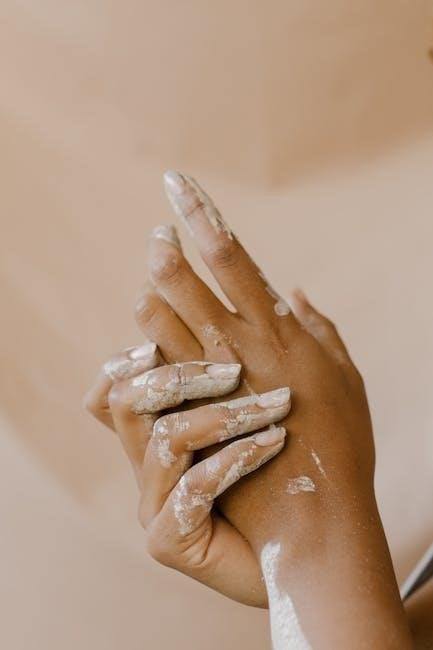
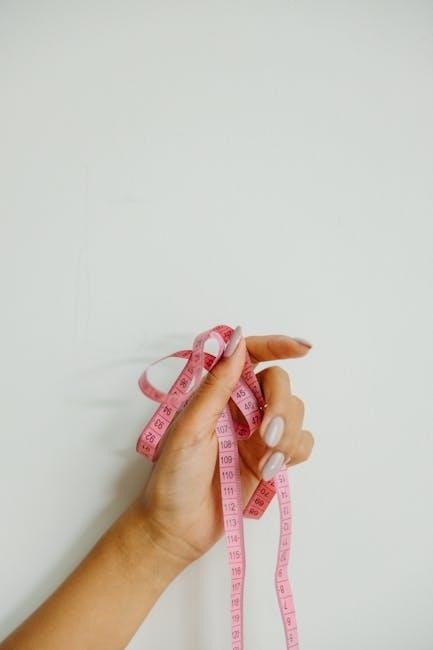
Measure your natural nails using transparent tape or a ruler. Place the tape across the widest part of your nail and mark the edges for accurate sizing.
Tools Needed for Accurate Measurement
To measure your nails accurately, you’ll need a few simple tools. Transparent tape, a ruler, and a soft measuring tape (or fashion tape) are essential. Place the tape across the widest part of your nail and mark the edges with a pen. Use a ruler to measure the length and width. For added precision, a nail sizing chart can help compare your measurements. These tools ensure you get the perfect fit for your press-on nails, avoiding gaps or tightness.
Step-by-Step Guide to Measuring Nail Beds
Start by preparing your nails, ensuring they are clean and dry. Place a small piece of transparent tape across the center of your nail bed, aligning it with the widest part. Use a fine-tip pen to mark the tape at the beginning and end of the nail bed. Lay the tape flat on a ruler to measure the distance between the marks. Repeat for all nails, noting each measurement for accurate comparison with the size chart. This ensures a precise fit for your press-on nails.
Press-On Nail Size Charts
Standard sizing charts for press-on nails are available, typically ranging from size 00 to 15. Each size corresponds to specific measurements for each finger (thumb to pinky). Most brands maintain consistent sizing, making it easier to find your fit once you know your size.
Standard Sizing Charts for Press-On Nails
Standard sizing charts for press-on nails typically range from size 00 to 15, with each size corresponding to specific measurements for each finger. These charts are designed to provide a consistent reference, ensuring a proper fit. Most brands adhere to these standards, making it easier for users to determine their size accurately. By referencing the chart, individuals can match their nail bed measurements to the appropriate size, ensuring comfort and a natural appearance. Proper sizing is crucial for both aesthetic appeal and long-lasting wear.
How to Read and Interpret the Chart
To accurately interpret the press-on nail size chart, align your nail bed measurements with the corresponding sizes. Each size is labeled numerically or alphabetically, representing the width and length of the nail tip. Ensure your measurements match the chart’s scale, typically ranging from small to large. Consider your natural nail shape and length when selecting sizes. Proper alignment ensures a secure, comfortable fit, enhancing both the appearance and longevity of your press-on nails.
Choosing the Right Size for Your Nail Shape
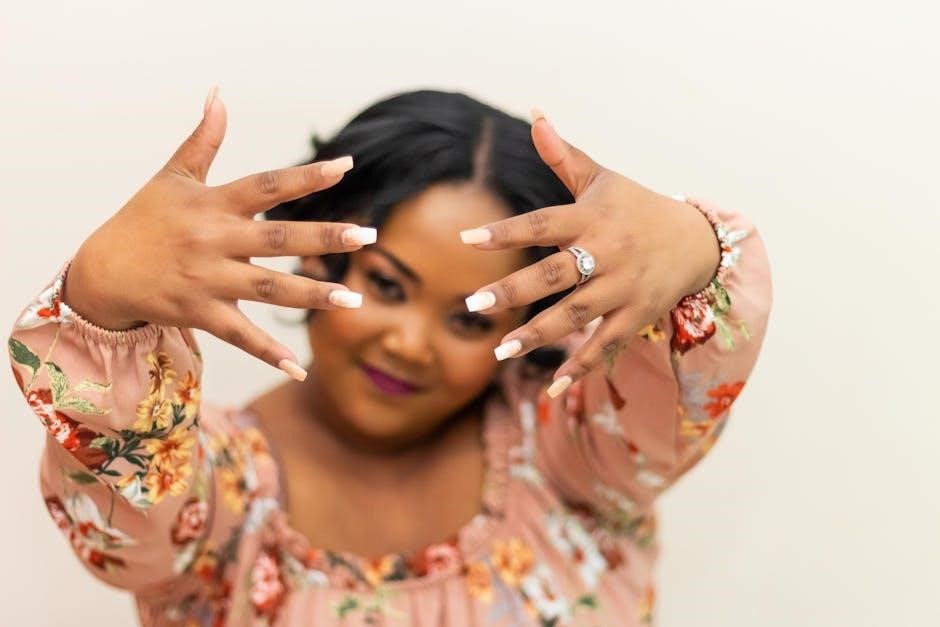
Matching press-on nails to your natural nail shape ensures a natural look. Whether almond, square, or oval, select sizes that complement your nail bed for a seamless fit.
Matching Nail Tips to Your Natural Nail Shape
Press-on nails come in various shapes, including almond, square, oval, and stiletto. To achieve a natural look, choose tips that mirror your natural nail shape. For example, almond tips complement oval or square nails, while stiletto tips add drama to shorter nails. Measure your nail bed using transparent tape and a ruler to ensure the tip aligns perfectly. Proper alignment prevents lifting and ensures a seamless application. This step is crucial for a professional, long-lasting finish.
Considering Nail Length and Width
Nail length and width are critical for a natural look. Measure your natural nail length from cuticle to tip and width across the nail bed. Use transparent tape and a ruler for accuracy. Press-on nails should match these dimensions to ensure a seamless fit. Avoid tips that are too long or narrow, as they may lift prematurely. Proper sizing enhances comfort and durability, ensuring your press-ons look and feel like your own nails. This step is essential for a polished finish.

Common Mistakes to Avoid
Common mistakes include incorrect sizing, ignoring nail shape, and poor measurement techniques. Using improper tools and not adjusting sizes can ruin the look. Avoid these errors for a perfect fit.
Why Incorrect Sizing Can Ruin the Look
Incorrect sizing can lead to press-on nails appearing mismatched or uneven. If the nails are too tight, they may cause discomfort or damage to the natural nail. Conversely, nails that are too loose can shift or lift, creating an unpolished appearance. Proper sizing ensures a seamless fit, maintaining both comfort and aesthetic appeal. Always measure accurately to avoid these common pitfalls and achieve a professional finish.
How to Adjust Sizes for a Perfect Fit
Start by comparing your measurements to the size chart. If a nail feels too tight, consider the next size up. For a loose fit, opt for a smaller size. Use nail glue to secure edges if slight gaps occur. Adjusting sizes ensures optimal comfort and a natural look. Always double-check your measurements and refer to the chart for the best results. This step is crucial for achieving a flawless, long-lasting application.
Applying Press-On Nails
Applying press-on nails involves preparing your nails, selecting the right size, and securing them with glue. Ensure a proper fit and finish with a top coat for durability.
Preparing Your Nails for Application
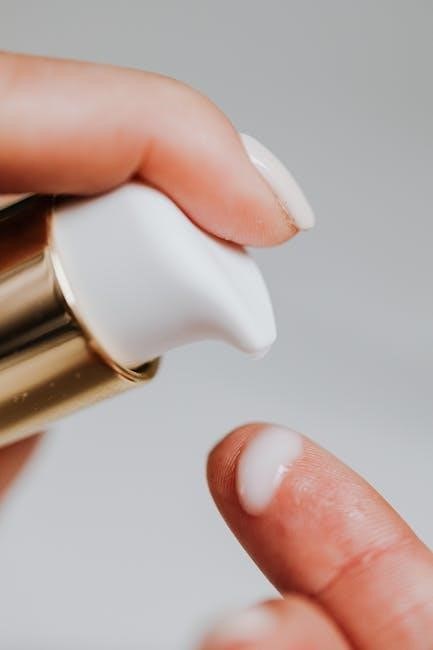
Before applying press-on nails, ensure your natural nails are clean and dry. Remove any old nail polish and push back cuticles. Gently buff the surface of your nails to create a rough texture for better adhesion. Trim and shape your nails to match the press-on tips. Wipe your nails with nail cleanser to remove oils and residue, ensuring a strong bond. This preparation step is crucial for a long-lasting, professional finish.
Step-by-Step Application Process
Start by selecting press-on nails that match your natural nail size and shape. Apply a thin layer of nail glue to your natural nail and the back of the press-on nail. Align the press-on nail with your natural nail, starting at the center and gently pressing outward. Hold for a few seconds to secure. Repeat for all nails, finishing with a top coat to seal and add shine. This ensures a professional, long-lasting finish.
Caring for Your Press-On Nails
Keep your press-on nails looking fresh by avoiding harsh chemicals, washing hands gently, and applying a top coat. For long-lasting wear, handle nails with care and avoid excessive force.
Tips for Long-Lasting Wear
For long-lasting press-on nails, gently wash hands with mild soap and avoid harsh chemicals. Apply a top coat to seal the nail and prevent chipping. Avoid excessive force or using nails as tools. Moisturize cuticles to maintain nail health. Handle nails with care to ensure a durable, salon-quality finish that lasts up to two weeks. Regular touch-ups can extend wear further, keeping your nails looking fresh and polished.
How to Remove Press-On Nails Safely
To safely remove press-on nails, soak fingers in acetone for 10-15 minutes to loosen adhesive. Gently scrape off nails using an orange stick, working from one side to the other. Avoid force to prevent nail damage. After removal, wash hands and moisturize cuticles to restore natural nail health. This method ensures a damage-free process, keeping your nails intact and ready for future applications.
Troubleshooting
Address common issues like nails feeling too tight, loose, or gapped. Adjust sizes, realign, or reapply for a secure fit without damaging natural nails or compromising style.
What to Do If Nails Feel Too Tight or Loose
If press-on nails feel too tight, they may be causing discomfort or potentially damaging your natural nails. Check your size chart to ensure accuracy. For a tighter fit, consider sizing up slightly. If nails feel loose, they may not last long. Opt for a smaller size or adjust the application by gently pressing harder. For a perfect balance, ensure your natural nail bed aligns with the press-on nail base. Proper sizing prevents discomfort and extends wear.
Fixing Gaps or Misaligned Nails

If gaps or misalignment occur, check your nail size chart to ensure proper fit. Gently lift and reposition the press-on nail, pressing firmly for better adhesion. For stubborn gaps, apply a small amount of nail glue to secure the nail. Misaligned nails can be adjusted by carefully trimming excess material or reapplying the nail after cleaning the surface. Proper alignment ensures a natural look and prevents premature lifting or damage.
Mastering press-on nail sizing ensures a flawless, professional finish. By following this guide, you’ll achieve salon-quality results at home, boosting confidence and enhancing your beauty routine effortlessly.
Final Tips for Achieving Salon-Quality Results
To achieve salon-quality press-on nails, ensure precise measurements and proper application. Use a nail prep kit for a clean surface and apply a thin layer of glue for durability. Finish with a top coat to seal and shine. Regular maintenance and gentle removal will extend wear. Practice makes perfect, so experiment with styles and techniques to find your signature look effortlessly.